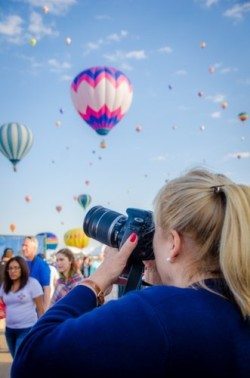
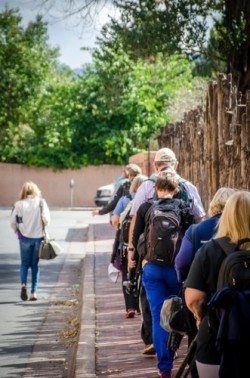
We’ve been up at the crack of dawn to photograph morning ascension of all the hot-air balloons… we’ve been out late at night taking pictures of the evening glow and fireworks. We’ve been through a cooking class where we learned to make chile rellenos and pecan bread pudding… and we walked the city in search of editorial images, and more…
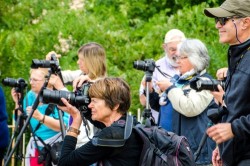
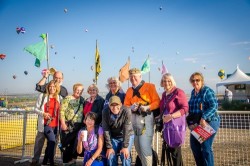
Cecy Rivera here at our photography expedition in Albuquerque, NM. Over the next few days, I’ll be reporting back to you with photos and tips I’m picking up from professional photographer Efrain Padro. But before I do, I just want to say – I have the best group of expedition attendees EVER!
It’s one of the things I like best about these tours. They attract a certain kind of people. People I truly enjoy traveling with.
Here are a few shots I’ve taken this week on our journey…


If you missed us this week in Albuquerque, NM, you can sign up for a three-night class on where and how to sell your photos, here. It starts at the end of the month.
In the meantime, here are a few travel photography tips to make your images more saleable…
- SHOOT VERTICAL: Editors love vertical photographs because magazines are vertical yet most amateur photographers only think to lift their camera to their eye in horizontal fashion. If a photo is worth taking, it’s worth taking twice. Shoot horizontal the way you intended, then recompose and shoot a vertical so you have it in your collection.
- SHOOT IN RAW: If you know how to use a program like Adobe Lightroom to edit your images, shoot in RAW so you have more data to work with. If you don’t, shoot the largest jpeg possible. Editors want jpegs, so if you don’t know how to edit and convert your images to jpeg, it’s best to record your images already in jpeg format. Just be sure to double check that your camera is set to “L” for large or “fine” so that you’re recording the largest file possible.
- SHOOT SMALL, MEDIUM, & LARGE SHOTS: Photo buyers want at least one establishing shot that sets the scene or leads you into the story (a cityscape, a wide angle image that lets the viewer see where you are and what’s going on). They also want a medium shot that is more specific, and a detail shot to show very specific elements of your subject. Think in these terms and make sure to collect a bunch of different examples of each.
[Editor’s Note: Learn more about how you can fund your travels and make an extra income with photography, travel writing, blogging, and more in our free online newsletter The Right Way to Travel. Sign up here today and we’ll send you a new report, Profit From Your Photos: A Quick-Start Guide, completely FREE.]