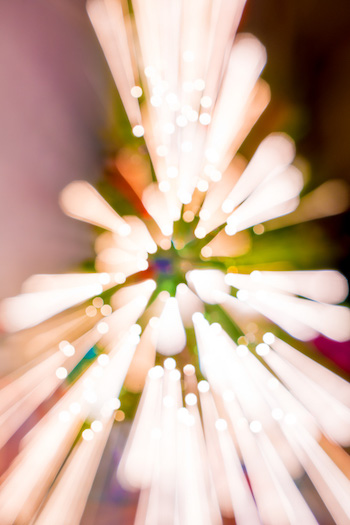
Here’s a really fun way to challenge yourself this Christmas season: Think of your camera and lenses as abstract painting tools rather than traditional tools that capture reality.
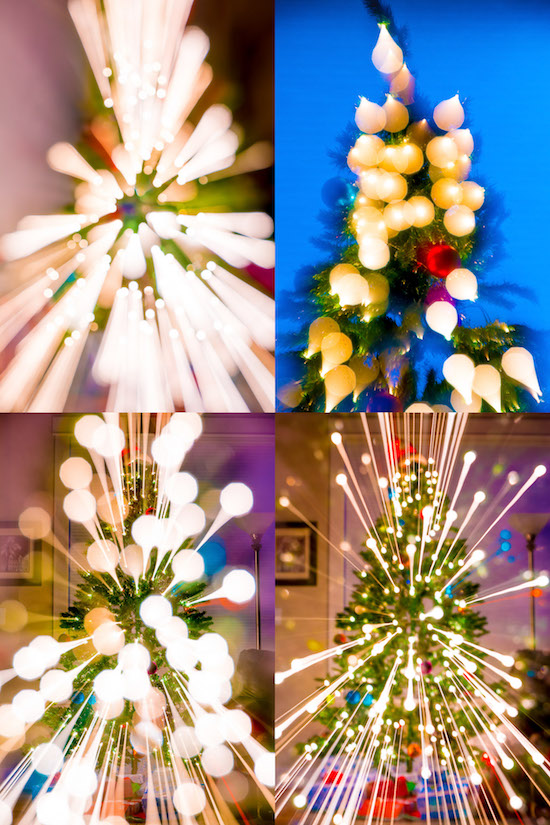
To create abstract holiday images like these, you’ll need a DSLR or mirrorless camera, a zoom lens, and a tripod. You’ll also need a Christmas tree or other holiday lights or candles.
The best time to shoot these images is at night when there isn’t much ambient light around your Christmas tree.
You might try experimenting with the lights on or off to see what gives you the best results.
You can also try it outside with outdoor lights, or with your house lit up for the holidays.
This type of imagery requires you to use long exposures in order to accomplish two goals.
1. To be able to see the tree in the photo. Since Christmas tree lights are fairly dim, you’ll need a long exposure for the green color and shape of the tree to come out in the final image.
2. To make the lights appear to “whoosh” across the photo. To get this effect, you’ll need to allow enough time to manually zoom or defocus the lens during the exposure.
A shutter speed of about 4 seconds will give you just enough time to rotate the zoom and focus rings during the shot.
With your camera on a tripod and set to manual, try starting with these settings:
ISO: 100
Aperture: f/8
Shutter speed: 4 seconds
You’ll also need to set your lens to manual focus. Take a test shot with your camera on the tripod and see if the overall exposure is correct. Once you have the base exposure set, then it’s time to begin experimenting.
All of the images here were taken by zooming the lens, rotating the focus ring, or a combination of both during the exposure. That is, after hitting the shutter but before 4 seconds are up.
Start your first photo by taking a picture and not touching anything on the camera for two seconds. Then, slowly rotate the zoom ring for one or two seconds to produce the light trails. After a few shots where you’ve perfected the zoom, feel free to experiment by adding in a focus adjustment. You can achieve some really cool looks by simultaneously combining zoom and defocusing.
Experiment by rotating your zoom and focus rings at different speeds and you’ll be amazed at all the looks you can come up with.
Here are detailed descriptions on how I created each of the images shown in the article.
Photo 1 – Zoom, Defocused Image, Long Exposure
Settings: Nikon D850, 70-200mm lens, f/2.8, ISO 100, f/8, 4 sec
For this image, I started the exposure with the tree out of focus. This approach gave the image a very creamy/soft overall look. I exposed the photo for approximately two seconds before I started zooming the lens. Doing so allows the colors of the tree (green) to register before creating the zoom effect.
Photo 2 – Quick Zoom with Slow Focus
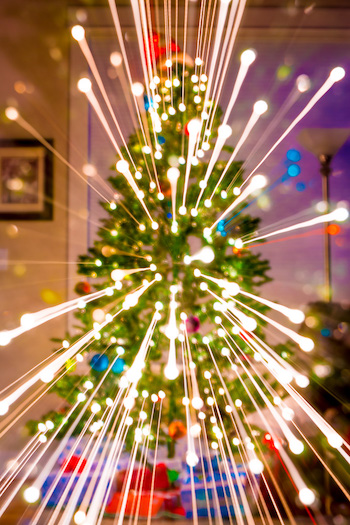
Settings: Nikon D850, 70-200mm lens, f/2.8, ISO 100, f/8, 4 sec
To achieve this look, you’ll need to start by focusing on the tree, so everything is sharp at the beginning of the exposure. Then, don’t change zoom or focus for approximately 2 seconds so the tree registers in the exposure. During the third and fourth seconds of the exposure, quickly zoom the lens to achieve the light trails, then at the end of the exposure, slightly rotate the focus ring to produce the small dots of light at the end of the light trails.
Photo 3 – Quick Zoom with Fast Focus
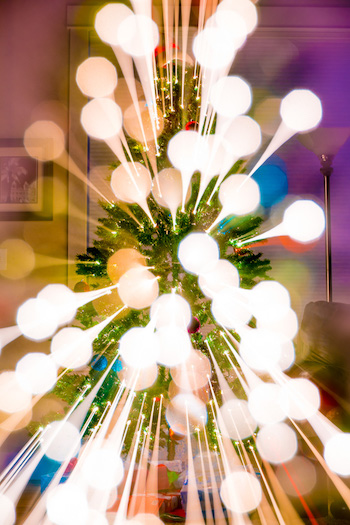
Settings: Nikon D850, 70-200mm lens, f/2.8, ISO 100, f/8, 4 sec
This technique is very similar to Technique 2, but the difference is that you make a much faster/larger rotation of the focus ring at the end of the exposure. Start the shot by focusing on the tree for the first two seconds of the exposure. Then, during the third second, quickly zoom the lens. Near the end of the fourth second, turn the focus ring all the way until it stops. The rapid rotation of the focus ring at the end of the exposure will lead to the large blobs of light (that’s a technical term).
Photo 4 – Blue Hour, Slow Zoom and Focus
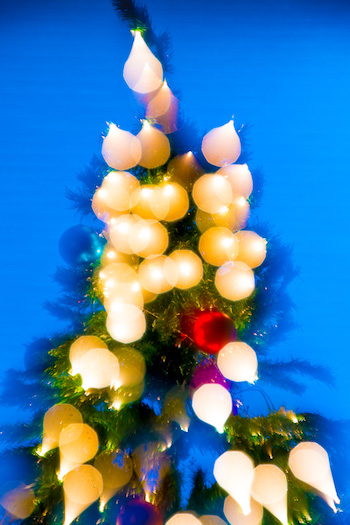
Settings: Nikon D850, 70-200mm lens, f/2.8, ISO 100, f/8, 2 sec
The key to achieving this look is to shoot during the blue hour. Since our Christmas tree was positioned in front of a window, I waited until about 30 minutes after sunset and began shooting long exposures during the blue hour. For the specific photo shown here, I slowly zoomed while rapidly rotating the focus ring during the 4-second exposure. Moving the zoom slowly made the light trails short, while rotating the focus ring quickly made the blobs of light change from small to large.
[Editor’s Note: Learn more about how you can fund your travels and make an extra income with photography, travel writing, blogging, and more in our free online newsletter The Right Way to Travel. Sign up here today and we’ll send you a new report, Five Fun Ways To Get Paid To Travel: A Quick-Start Guide, completely FREE.]

