It’s easy to be creative when you’re relaxed and having fun. That’s how participants at our Photo Summer Camp have been snagging so many great shots… And it’s how I got this shot:  Bonnie here, reporting from Day Three of Summer Photo Camp. Yesterday I sent you a video tip showing how fun and easy it is to get perfect photo light outdoors using nothing but a piece of white foam core board. If you missed it, you can catch it here. If you thought creating good light outside looked easy… it’s even easier indoors, next to a window. My setup is extremely simple. Step into my DIY indoor photography studio:
 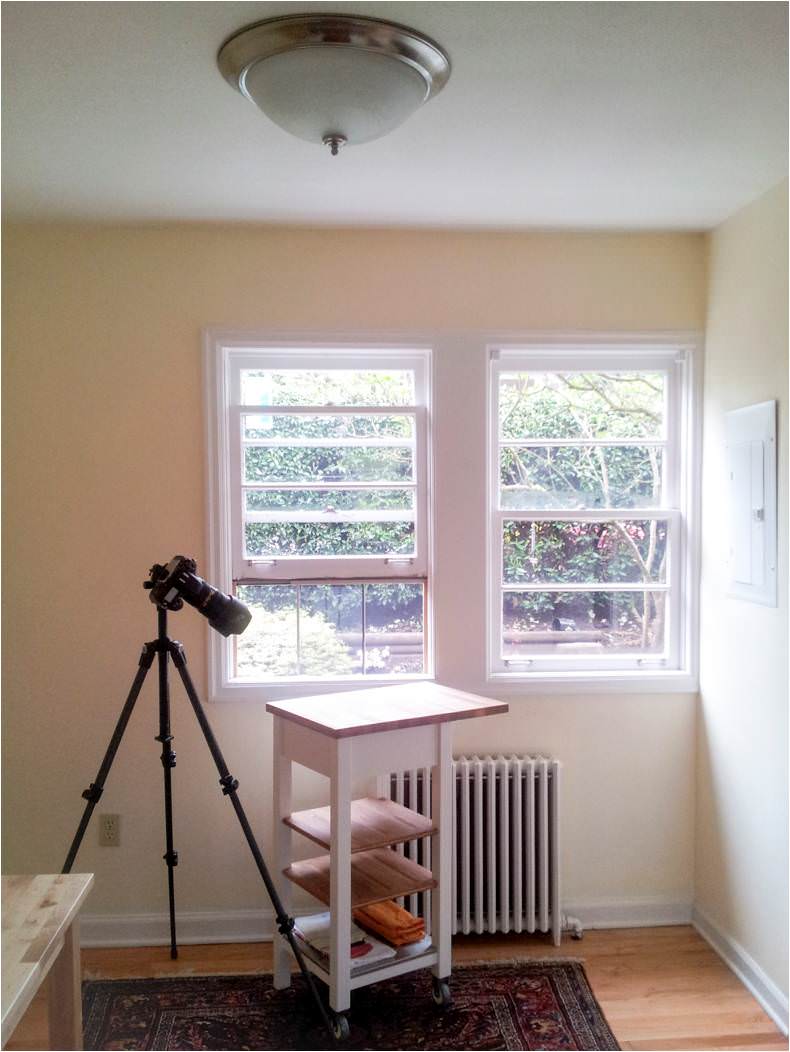 It’s just a flat surface next to a window with even, indirect light and a camera on a tripod. TIP: When you’re using window light, always turn off the overhead light to avoid weird colors showing up in your photo. To make the magic happen, I use white and black foam core to block or add light. For example, here’s a quick snapshot of some pears on the tabletop, next to the window:
 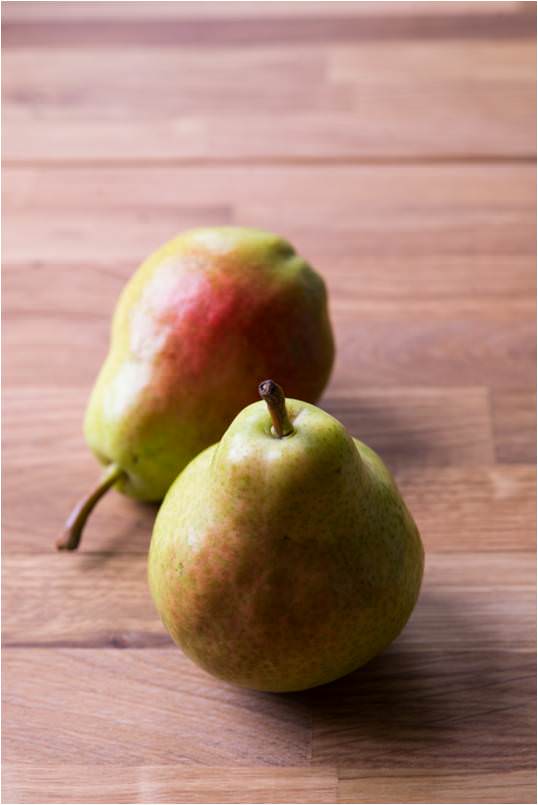 The light is nice, but the photo is kind of boring. So I blocked some light behind them using a piece of black foam core:
 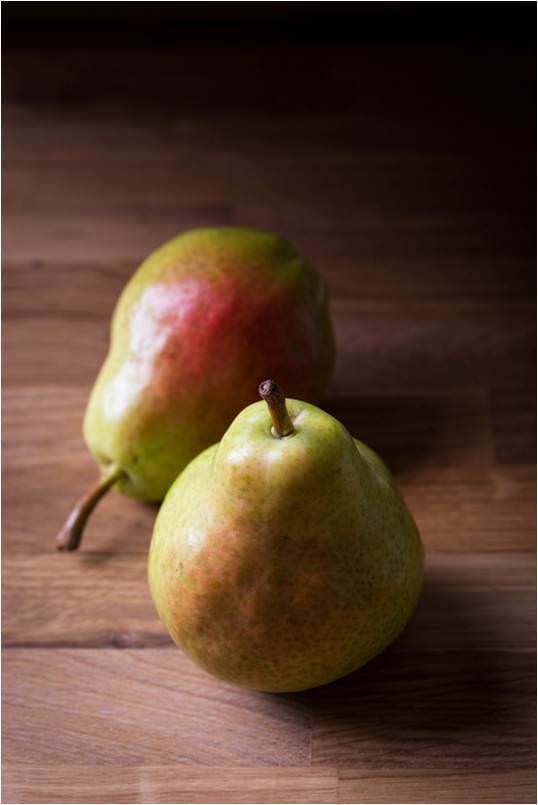 That’s better… but what more can we do? Here, I decided to add some dimension to the image using a piece of white foam core to reflect the window light back onto the pears:
 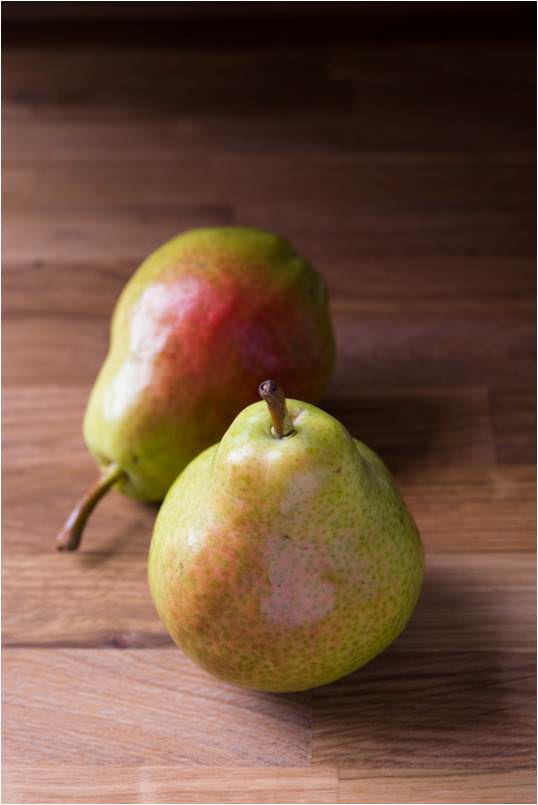 Here’s what the progression looks like from beginning to end:
 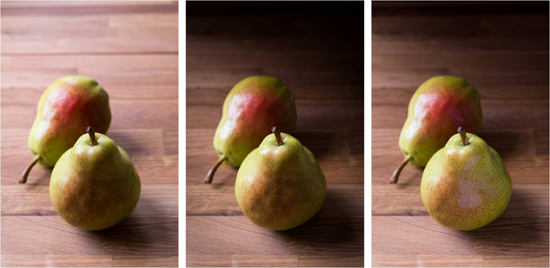 And here’s my final shot from the day:
 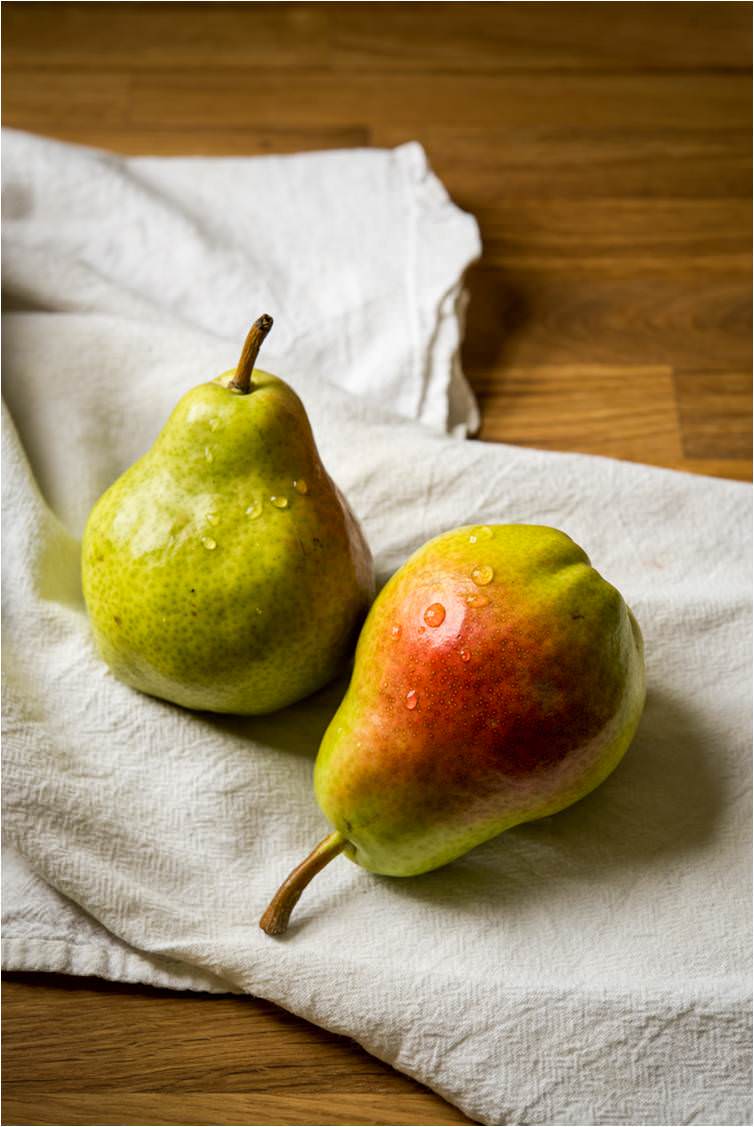 It’s especially easy to play with light indoors, since the wind isn’t blowing and the light isn’t changing much. Give it a try this afternoon and see what you get!