Summer has finally arrived—bringing with it lots of bright sunshine.
That sunshine makes this the perfect time to enhance your images by using a very simple technique called sunbursts.

Bright light can be tricky for photographers—when shooting against the sun, you often end up with an unappealing white blob in your image.
To avoid that, you have two options: You can either change your angle to try to exclude the sun… or you can use it as an opportunity to turn that white blob into a star-shaped light source that enhances your image.
So, what is a sunburst?
A “sunburst” (also called a “starburst”) is an effect that’s caused by the bending of the light (or “diffraction” to give it its technical term) as it passes through the narrow opening of the aperture in your lens. Think of it as “pinching” a ray of light through your lens to create a star-shaped imprint on the camera sensor.
How to create sunbursts
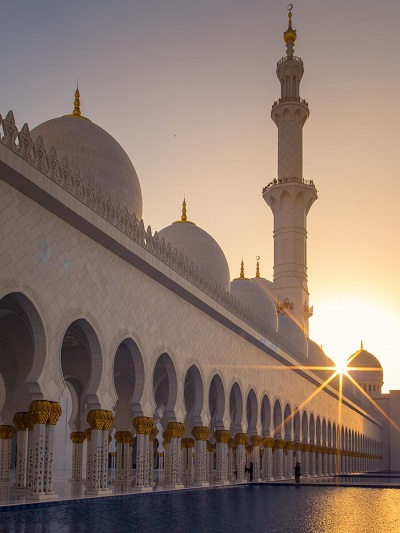
Sunbursts can have great impact in a photo—and, fortunately, the technique to achieve one is very simple. Simply switch your DSLR or mirrorless camera to Aperture mode, and set the aperture to a minimum of f/16 or higher. The higher the number, the more defined the star will be.
Note: You need to have manual control over your aperture for this to work, which is why it’s difficult to create the effect with point-and-shoot cameras or smartphones.
Once you’re set, choose your composition by including the sun but avoid pointing your lens directly at the sun. (This could damage the sensor in your camera.)
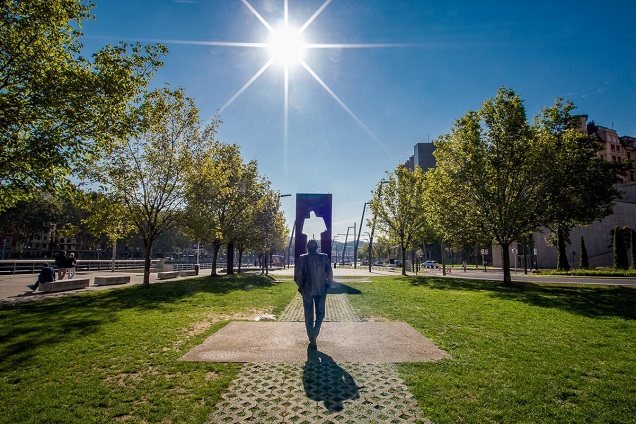
Since the sun is a powerful source of light, you can enhance the star effect by partially blocking the sun behind another object, such as a tree or a building, like so:

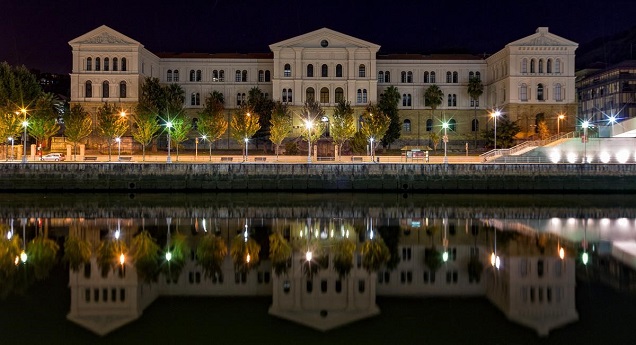
But why stop there? You can also achieve the same result with streetlights at nighttime! Just make sure you have a tripod with you as you’ll have a very slow shutter-speed due to the low light and narrow aperture.

Why does my sunburst look different than yours?
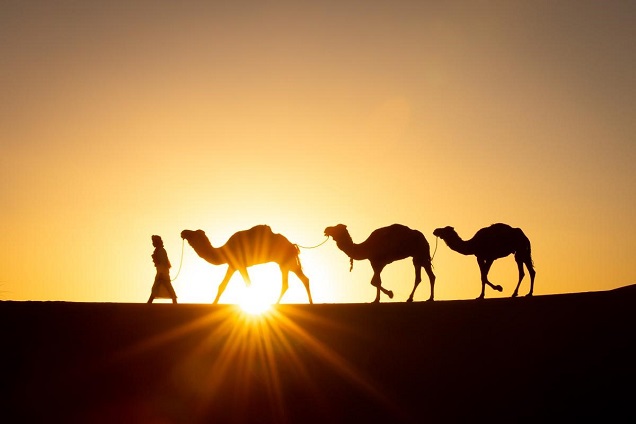
Get out your camera and experiment with starburst images. Don’t worry if your images don’t look exactly like mine: The shape of the star that is created in your photo will depend on the aperture blades inside your lens. The wider the lens you use, the more pronounced the sun/star will be, and the more blades there are in your lens, the more branches it will have.
Some lenses will work better than others to achieve this effect, so don’t hesitate to try different ones on your camera. In general, a wide-angle lens will provide the best results when attempting sunbursts.

A word of caution though: Increasing your aperture can sometimes have a nasty side effect in your images if you haven’t cleaned your camera sensor in a while. In that case, you might end up with dozens of dust spots appearing in your sky which you’ll have to clean up by using the spot removal tool in Lightroom. Make sure your sensor is clean!
Then, grab your camera, bring a bottle of water and sunscreen, and have fun including sunbursts in your shots to make them stand out from the crowd!
[Editor’s Note: Learn more about how you can fund your travels and make an extra income with photography, travel writing, blogging, and more in our free online newsletter The Right Way to Travel. Sign up here today and we’ll send you a new report, Five Fun Ways To Get Paid To Travel: A Quick-Start Guide, completely FREE.]


