Have you made friends with your tripod? If not, here are a few reasons why you should…
● Creative possibilities. A tripod opens up opportunities to play with longer exposures. For example, I wouldn’t have been able to take either of these blurred water shots without a tripod:
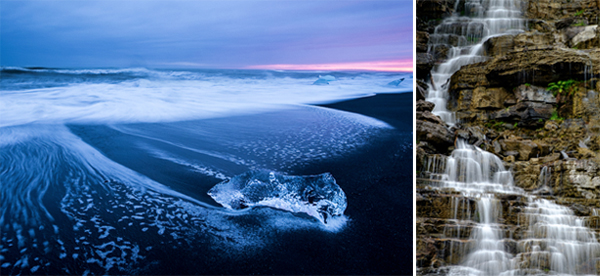
The photos above were taken at shutter speeds of around 1 to 2 seconds in order to blur the moving water. Since it’s pretty much impossible to hold your camera perfectly steady for that amount of time, this is where your trusty tripod is invaluable.
● Night photography. Anytime you want to shoot in low light situations such as twilight, you’ll also be dealing with slow shutter speeds. Once again, your tripod comes to the rescue!
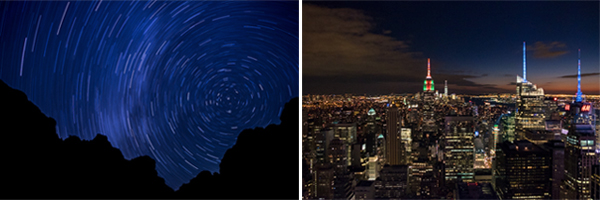
● Improved compositions. Using a tripod inherently means slowing down. And while that might be frustrating at first, taking a little extra time allows you to be a lot more intentional with your composition, which is a huge plus.
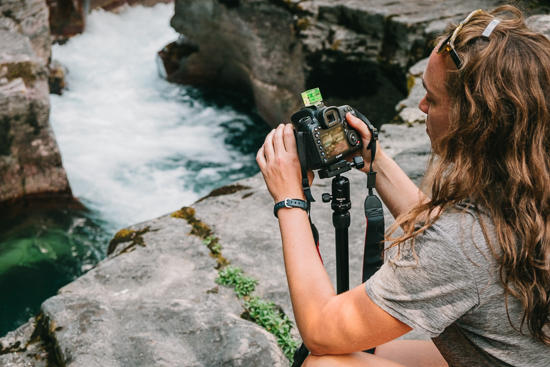
Once you have your camera on a tripod, you can step back and review your photo to see if there are distractions sneaking in along the edge of the frame. Sometimes a few small tweaks is all it takes to greatly improve an image.
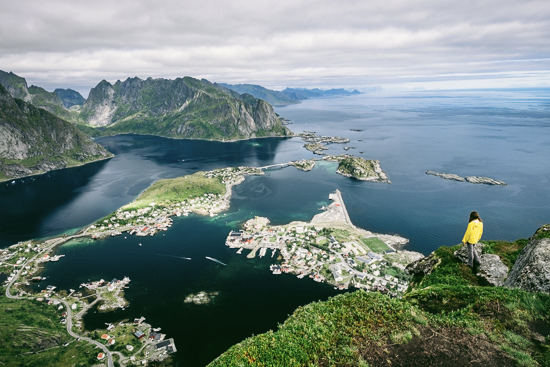
● Better selfies. No joke! Tripods let you take selfies to a whole new level. Especially if you’re out shooting alone, it can be fun to put yourself in the photo and trigger the camera with a remote release. That’s exactly what I did during a solo trip to Norway in this shot below.
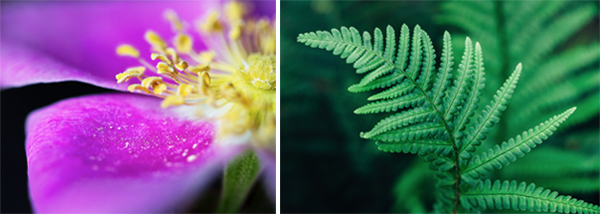
● Perfect focus. Last but not least, using a tripod is the most sure-fire way to create a tack-sharp photo. It’s especially useful for macro or close-up details where you need to get a very specific part of the photo sharp, as was the case in the shots below.
Here are a few additional tips for using your tripod:
1.) Practice, practice, practice. You won’t like using your tripod if you’re unfamiliar with how the knobs work. It’s best to practice setting it up and adjusting it at home until it becomes second nature.
2.) Use your camera’s 2-second self-timer mode or a remote release to trigger the shutter. This way, you won’t inadvertently shake your camera while trying to take the picture.
3.) Consider a quick release plate. Many tripod heads are compatible with a special plate that attaches to the bottom of your camera. This allows you to quickly take your camera on and off your tripod, saving time and eliminating a lot of frustration.
4.) Get a sturdy, lightweight tripod. Make sure that your tripod can properly hold the weight of your camera and heaviest lens. It’s well worth it to invest in a sturdy, high-quality tripod since it’s something you’ll have for many years.
I hope that these ideas inspire you to make friends with your tripod! It’s especially important for times when you want to capture motion blur, shoot in low light, or do fine detailed, close-up work. It’s also an essential tool for landscape photographers since they are often shooting in low light conditions at sunrise or sunset.
[Editor’s Note: Learn more about how you can fund your travels and make an extra income with photography, travel writing, blogging, and more in our free online newsletter The Right Way to Travel. Sign up here today and we’ll send you a new report, Five Fun Ways To Get Paid To Travel: A Quick-Start Guide, completely FREE.]


