Whether it’s a beautifully-presented platter at a favorite restaurant or a delicious meal we’ve cooked at home, we all love to take photos of our food before devouring it… and doing a quick post on Facebook or Instagram.
But to turn those images from fun snapshots to saleable food images, we need to pay attention to the light and composition and also process them in Lightroom.
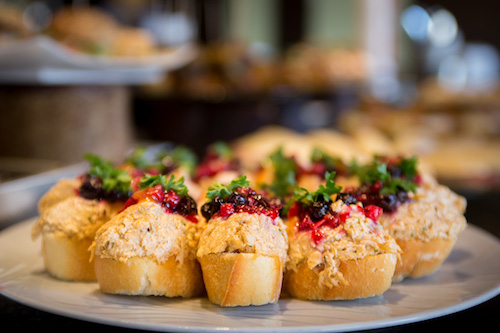
Take this photo of a platter of tapas that I shot in Spain. The image is a little overexposed with some elements in the background that are a bit distracting.
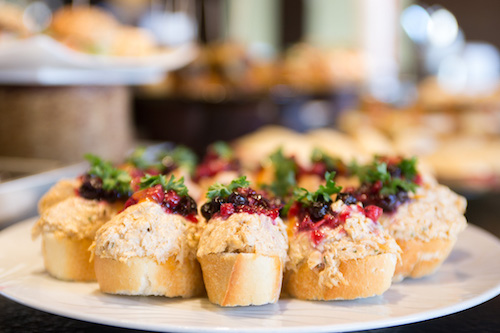
Here are three tools I use in Lightroom to bring the focus back to the food and make the entire image stronger.
1. The Radial Filter
This is one of my all-time favorite tools. It allows you to highlight large areas very quickly and control the amount of light and color to draw the attention of the viewer to your subject.
The radial filter is located right under the histogram on the right panel.
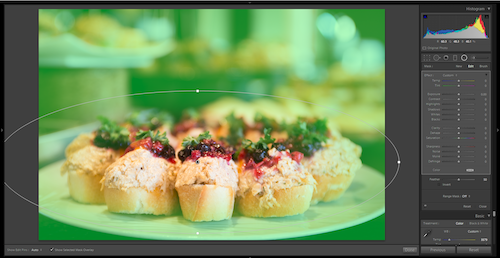
In this example, I drew a large oval around the platter and made sure everything outside the oval is highlighted (Tip: Press “O” to toggle the overlay and see what is going to be affected). Then I just turned down the exposure of the highlighted area and slightly desaturated it to avoid distractions.
2. The H/S/L Panel
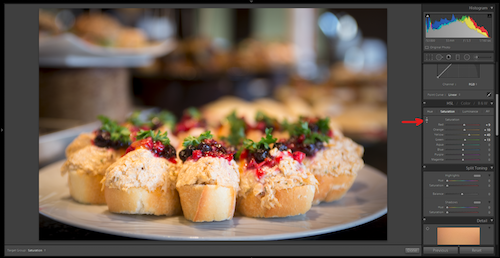
The HSL (Hue/Saturation/Luminance) Panel is another powerful tool that allows you to control each color in the entire image individually. You can change the brightness and intensity of the selected color and even go as far as turning it to a different one.
I felt that the greens and the cranberries weren’t saturated enough, but I didn’t want to use the Saturation or Vibrance sliders, since these would affect the entire image and not the specific colors.
To make it easier to control, there’s a little pin-tool in the HSL panel that allows you to click and hover on the chosen color, then drag up or down to change the settings. I saturated the greens and reds in this image to make them really pop.
3. The Adjustment Brush
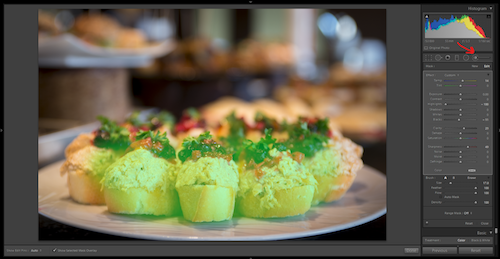
Just like the radial filter, the adjustment brush allows you to select areas to edit with much more control, just by painting on them. You can change the size of the brush to paint vast areas quickly, or just select the tiniest details.
I used the brush to paint on the sharpest part of the food and adjusted the white balance, the highlights, and the sharpness to really make it the star of the show.
And here’s the final image. With just those three tools, I was able to tone down the distracting elements and really make the important part of the food stand out.
And now it’s time to put the camera down and enjoy the meal!
[Editor’s Note: Learn more about how you can fund your travels and make an extra income with photography, travel writing, blogging, and more in our free online newsletter The Right Way to Travel. Sign up here today and we’ll send you a new report, Five Fun Ways To Get Paid To Travel: A Quick-Start Guide, completely FREE.]


