There’s a dizzying array of tools and sliders in Lightroom that can transform photographs from mundane to magnificent, and I want to share one of my favorites… a simple trick that I use on almost every photograph that I process.
It’s called the dehaze tool. When first introduced, it was relegated to the bottom of the develop menu, but now it’s been moved up near the top. Obviously other pros (besides me) must think it needs to be near at hand!
Haze in a photograph isn’t always a bad thing. In fact, there are many times I quite like it in a shot. But it tends to obscure detail and wash out colors.
But now the “dehaze” slider gets the same job done in just one easy step.
Here’s a quick story about the perfect way to use it…
Rainbows seem to demand photographs. When driving along with a vehicle full of photographers and someone yells out “Rainbow!” people clamor for their cameras and lean out of the window.
On a GEP Photo Expedition in Tanzania, a brief rain shower ended, and the sky was still dark from the retreating storm. The sun broke out, illuminating the Serengeti plains, and at that moment, a rainbow appeared.
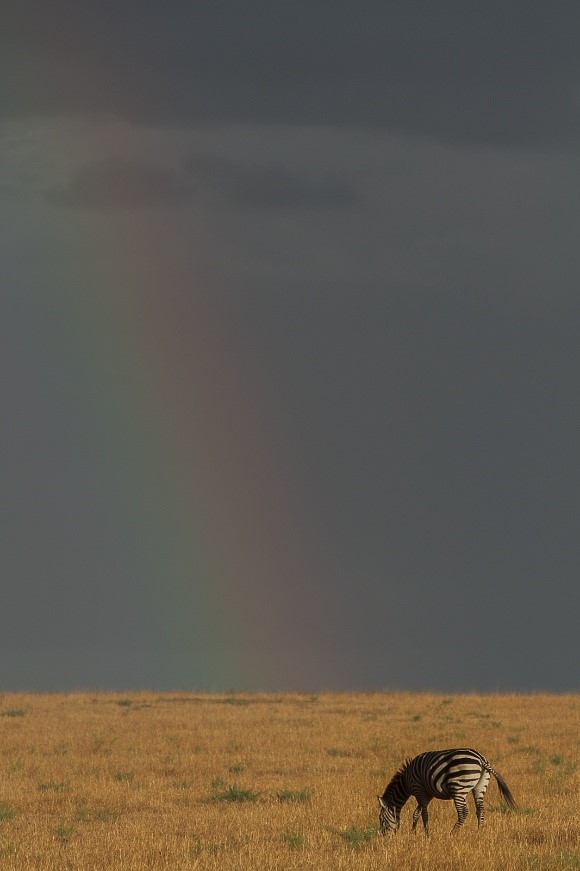
The image turned out a bit dull, because I was shooting in RAW. But I knew—because the exposure was correct and the image was in focus—that I could make something out of it in Lightroom.
Here’s the original image…

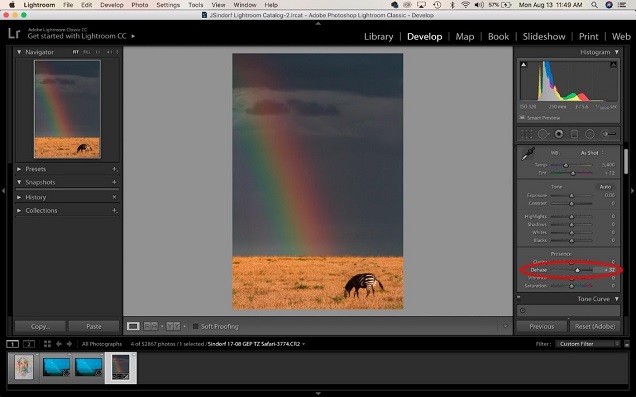
After opening it in Lightroom, I made one adjustment to the dehaze slider:

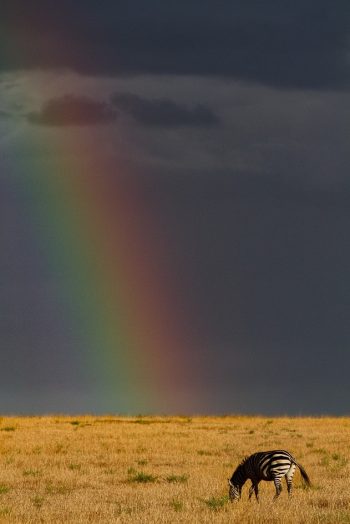
And here is the result:

The rainbow just pops with more saturation and luminance. The grasses are bright and the zebra shows better contrast. The image isn’t perfect, but it isn’t bad either… and much better than the original.
So, whenever a rainbow is in my image, this is the very first slider that I adjust.
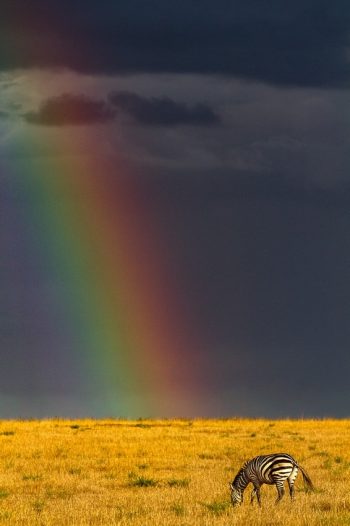
Of course, I also did some additional processing in order to make the image really saleable. Here’s the end result, which has sold many times as fine art and been licensed for use by a few travel agencies:

The dehaze tool has a lot of other uses, too—including correcting glare from the sun, taking out haze from your photo’s background, adding contrast to night sky Milky Way images, or adding depth to black and white images, to name a few.
So, give it a shot! Any time you find a large dull area in your photo, you’ve found a good candidate to put the dehaze slider to use.
[Editor’s Note: Learn more about how you can fund your travels and make an extra income with photography, travel writing, blogging, and more in our free online newsletter The Right Way to Travel. Sign up here today and we’ll send you a new report, Five Fun Ways To Get Paid To Travel: A Quick-Start Guide, completely FREE.]


