Here are four simple tricks to use in order to make your footage look more professional-quality travel videos.
All of these things are done in “post-production” – using your computer to edit the videos after you record them. (You’ll find detailed instructions for this in my course. It’s not the least bit hard.)
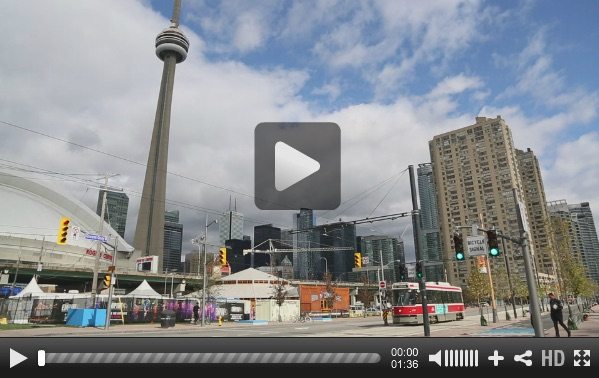
First, watch this….
At the beginning, you’ll see original video clips, which are not much to look at on their own. Then you’ll see the same clips after they received the “treatment” in my editing software.
Here’s what I did:
1. Add music
Adding a music track to your footage will make a huge difference and add atmosphere, since the original sounds are often not that desirable. So turn the original sound on your video down and add a royalty-free music track. Use the YouTube audio library to find tracks you can use without risking a copyright infringement.
2. Adjust your colors
Just like you may already do with your photos in Lightroom, you can use your video-editing software to make adjustments to your video footage. Increase the contrast, enhance those colors, adjust the white balance and add some light, and immediately your footage will look much more appealing and professional.
3. Add transitions
To make the change between shots more appealing and gradual, you can use transitions, which will slowly fade from one clip to the next. This will make your video look softer and create a nice flow.
4. Use slow motion
Slowing down your footage will give it a much different feel than at the original speed – and it creates a lovely relaxed feel. This is probably one of the simplest but most appealing effects you can use to enhance your footage.
Extra tip: If you’re planning to use this effect on most of your footage, and you have the ability, then shoot all of your footage in slow motion, which means it’s recorded in 60fps or more. It will look much more crisp than slowing down 30fps footage in post-production.
Now, the next thing you need to get up to speed on is panning. Most people make the mistake of doing it backwards — here’s how to pan for a professional look.
[Editor’s Note: Learn more about how you can fund your travels and make an extra income with photography, travel writing, blogging, and more in our free online newsletter The Right Way to Travel. Sign up here today and we’ll send you a new report, Profit From Your Photos: A Quick-Start Guide, completely FREE.]